AppleScriptはMacintoshに無償で付属してくる簡単おてがるスクリプトです。
人が作ったものや、はじめからついてくるAppleScriptを使うのも良いですが、自分で作ったものがちゃんと動くと楽しいですよ。
最近は、Windowsでも動くアプリを作っており、VBScriptなども勉強中です。
こちらもメモ帳やテキストエディタなどだけで作成することができ、勉強材料もWeb上にたくさん掲載されています。
学校でもプログラミングの授業が始まったり、これからやってみようかなと思う人たちに、何かの役に立てればと思います。
もちろん自分の備忘録としてがメインになってしまいますけど・・・。
 InDesign書類の自動PDF化
Javascriptを使用してInDesignファイルをPDFに書き出すスクリプトを書いてみました。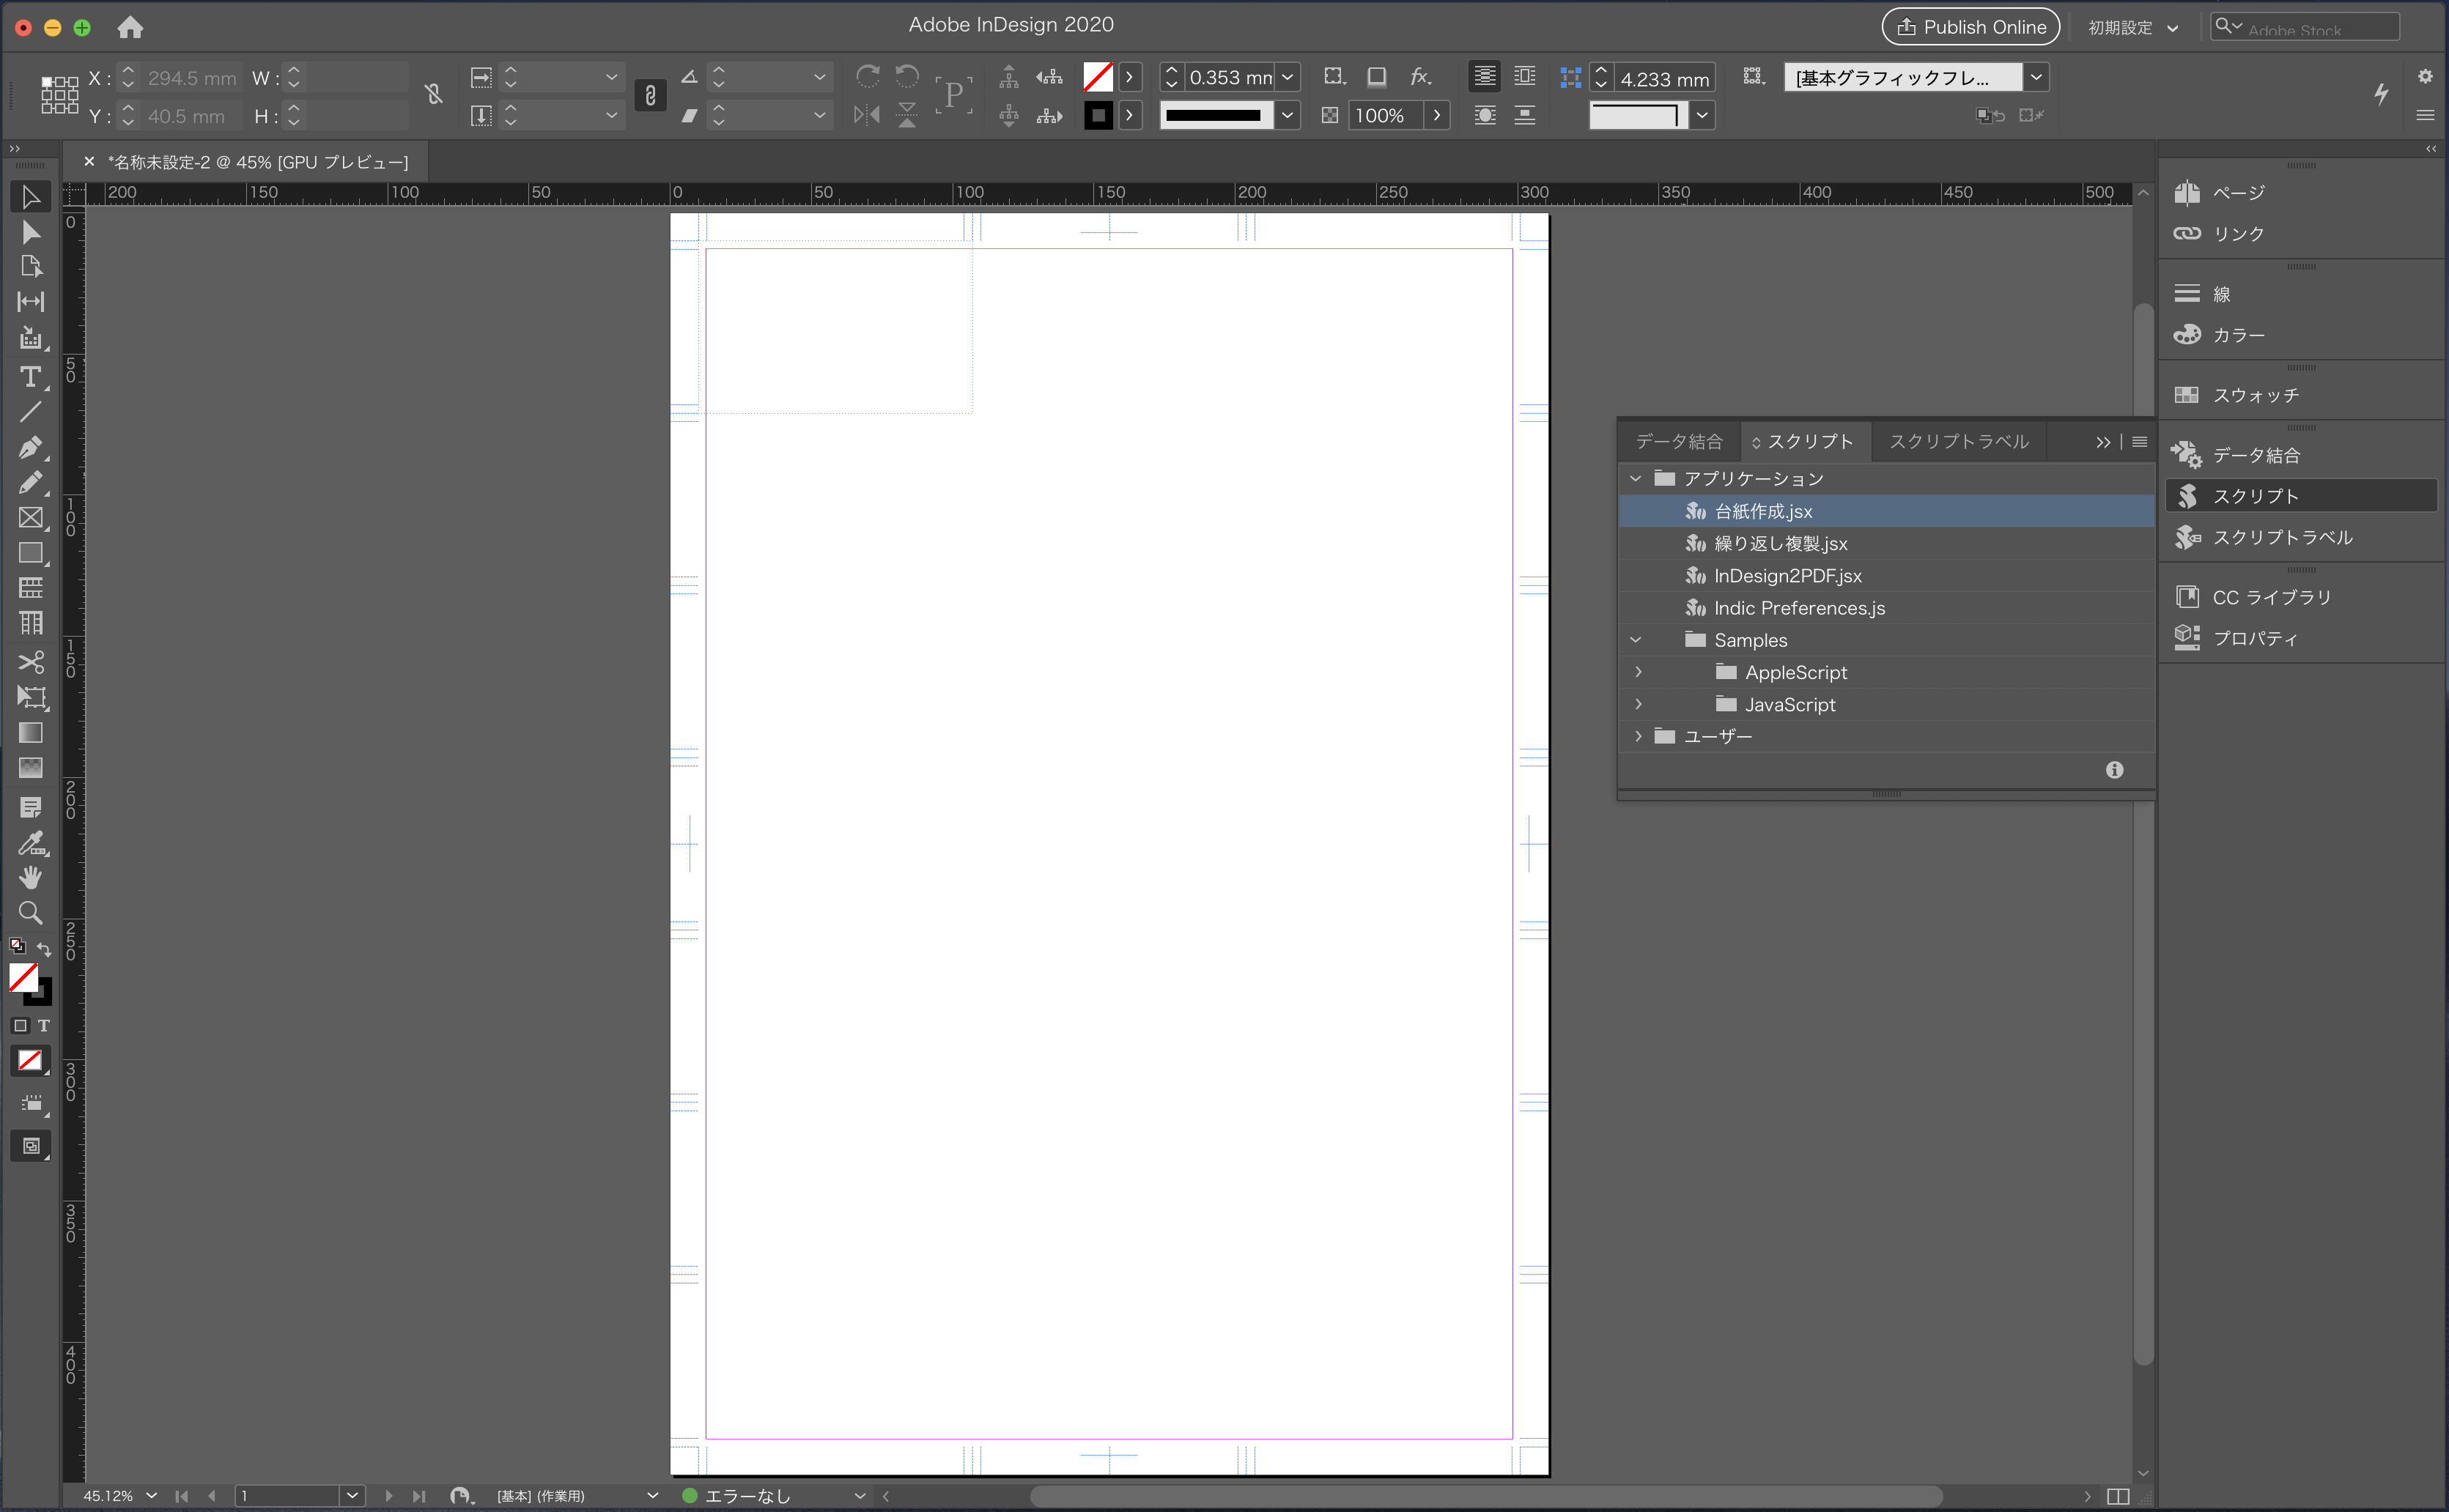 InDesign台紙作成
Javascriptを使ってトンボ付きの貼り込み台紙を作成します。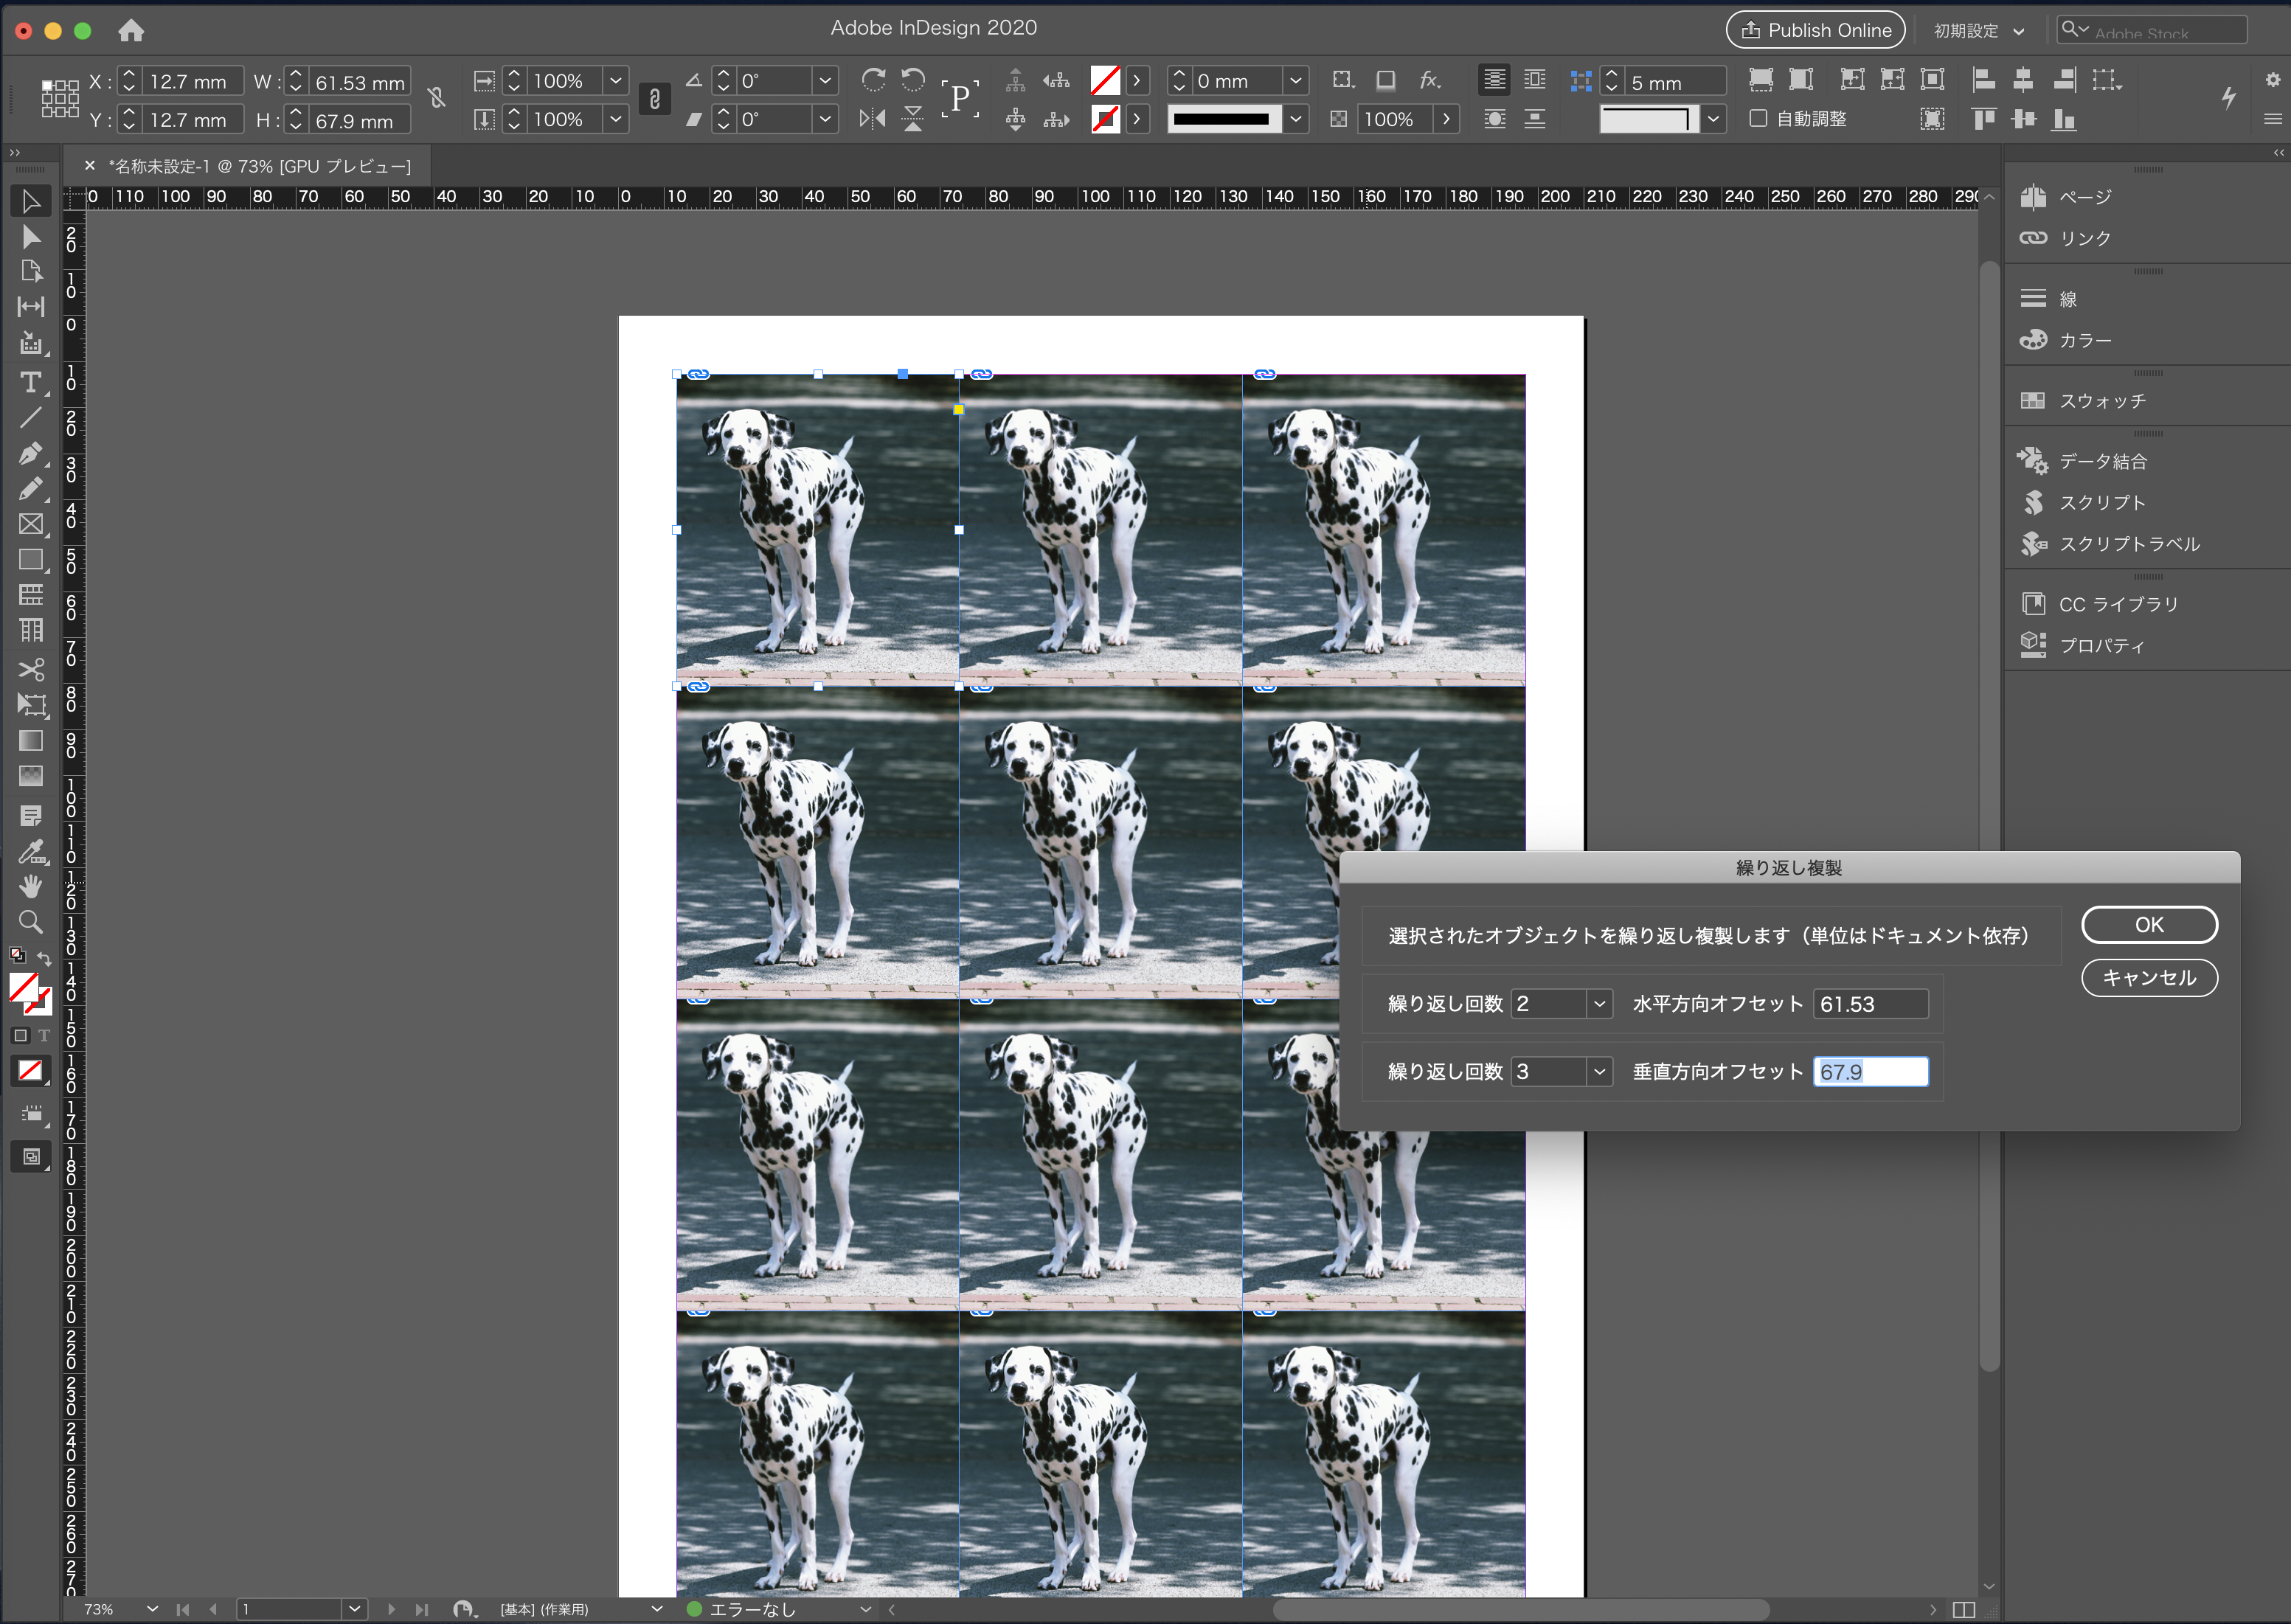 InDesign繰り返し複製
Javascriptで縦横同時の繰り返し複製を実現します。 TranslatePDF
PDFドキュメントを翻訳します。